Custom Menus allows you to add your own menu icons to the Tineri app's main menu and also create sub-menu items (if required) that may link to the web content of your own choice and also be used to display PDFs as well as Custom Text. To view and create Custom Menus, click the Library -> Custom Menus item in the main menu. This will open the following screen:

To create a new Custom Menu, click Add Item. This opens up the following screen:


Language Tabs
You can add data in any or all of the 5 languages selected for your organisation to specific applicable multilingual fields. Clicking on any Language Tab will switch the applicable fields to the selected language so that the user can input the data.
Menu Type
This is the type of the Custom Menu Item you want to create. Selecting 'Single' will create a custom menu with no provision to create Sub Menus and you will be able to add your content directly under this Menu Item. Selecting 'Single' will also add the additional fields to the form.

Content Type
This is the type of content that you want to add under the Single Custom Menu Item. There are 3 types namely
- Text - Selecting this type will add a Description field to the form so that the user can add a Textual Description

- PDF - Selecting this type will allow the user to upload a PDF file as a description which will be shown inside the app in a PDF viewer

- URL Link - Selecting this type will allow the user to show content using a URL which the app will redirect to using the in-app browser.

Menu Item Name
This is the label that will be displayed under the icon in the app menu, so keep it short!
Set as Default
If this check-box is checked this custom menu will appear by default to all the bookings which have 2 or less custom menus assigned to them.
Bookings
Here u select the bookings in which the icons will appear. You can select all, or just manually choose selected bookings. You won't be able to select bookings if the set as default check-box has been checked.
Choose Icon
Here you choose an appropriate icon for the menu item. If your choice of icon can't be found and you want us to add something, please let us know!
Then you click Submit, and your custom menu will be added.
In case the Menu Type is "Multiple", you need to add content to it. To do so, click View Sub Menus:

To create a new Sub Menu, click Add Item, which will open up the following:


Language Tabs
You can add data in any or all of the 5 languages selected for your organisation to specific applicable multilingual fields. Clicking on any Language Tab will switch the applicable fields to the selected language so that the user can input the data.
Content Type
This is the type of content that you want to add under the Sub Menu Item. There are 3 types namely
- Text - Selecting this type will add a Description field to the form so that the user can add a Textual Description
- PDF - Selecting this type will allow the user to upload a PDF file as a description which will be shown inside the app in a PDF viewer
- URL Link - Selecting this type will allow the user to show content using a URL which the app will redirect to using the in-app browser.
Menu Item Name
Again this is the icon label that will appear in the App so keep it short.
Choose Icon
Here you choose an appropriate icon for the menu item. If your choice of icon can't be found and you want us to add something, please let us know!
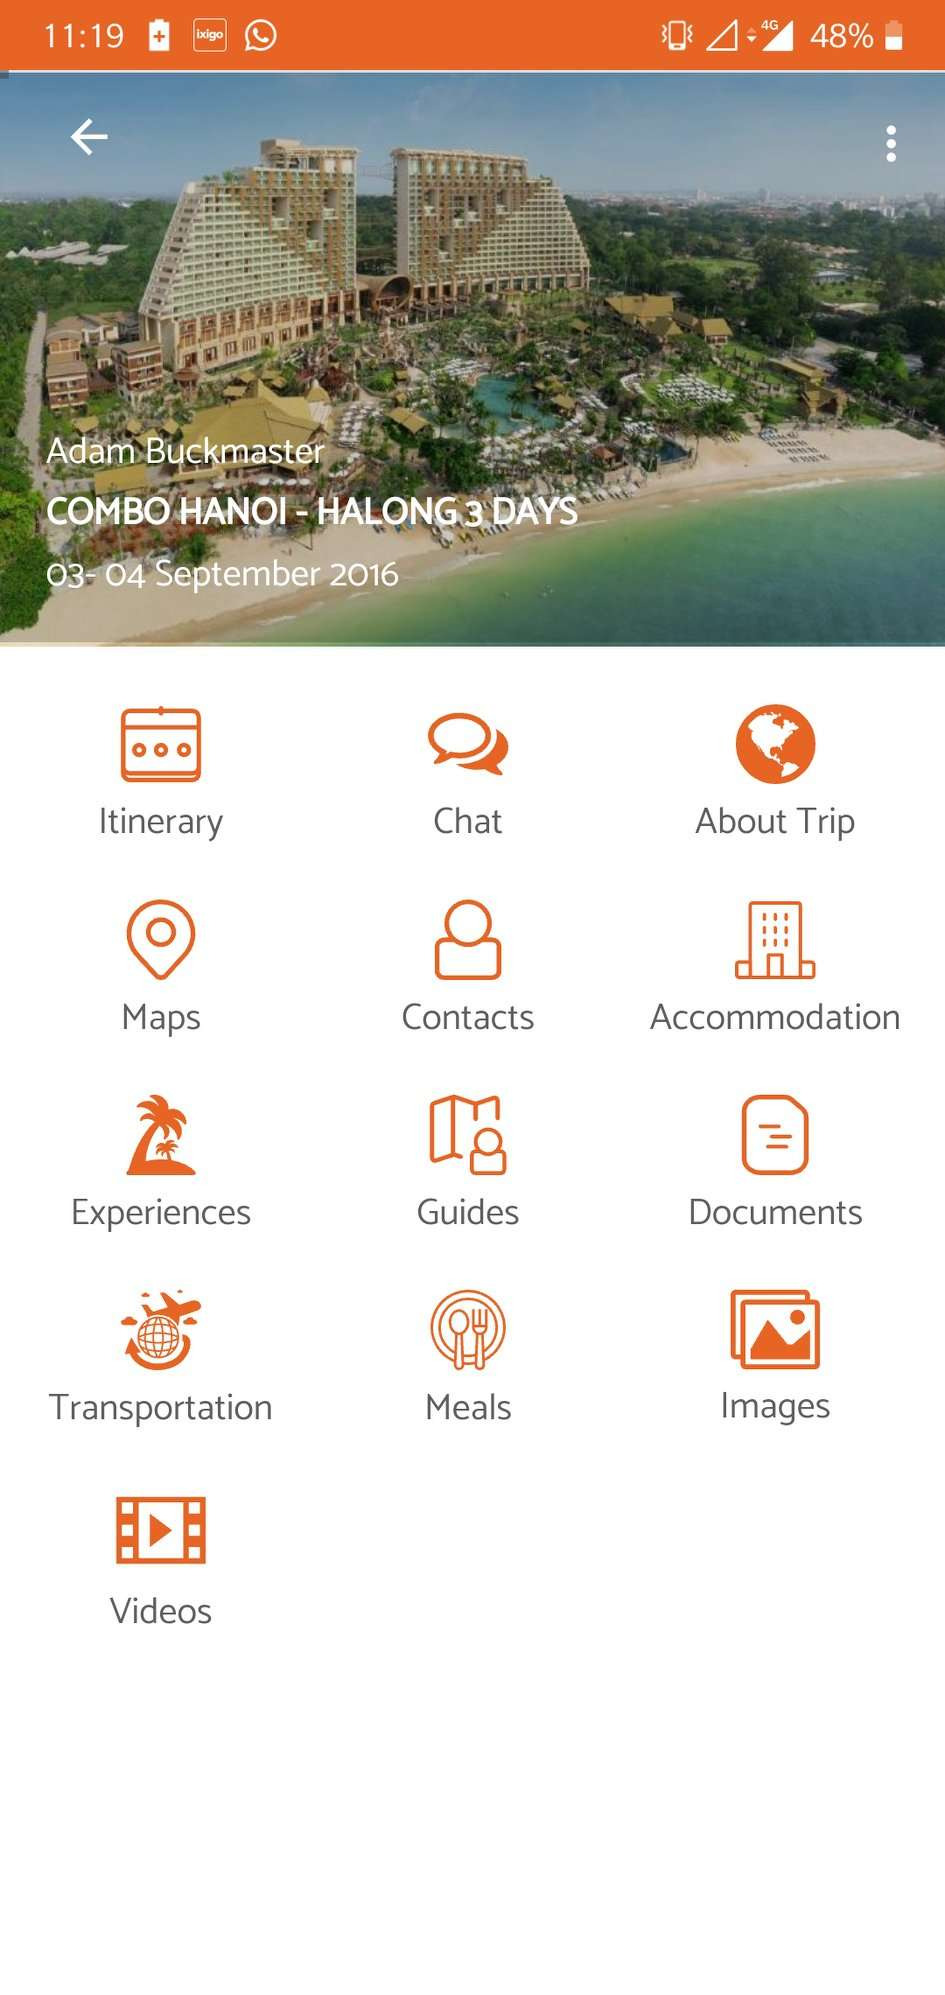
Then you click Submit, and your Sub Menu will be added and displayed in the app as follows: